GR6 ETS Removal
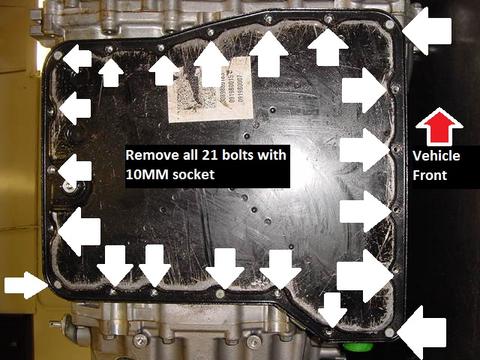
Oil Pan (this part can be done with the trans in the vehicle):
- Remove the pan first by removing the 21 pan bolts which use a 10mm socket
- Pull the oil filter DOWN an out. Nothing is holding it in, just pull:
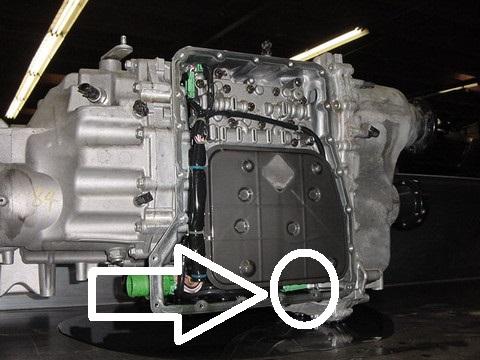
- Locate the 16 pin connector circled in the picture below. Remove the connector bracket using a 10mm socket
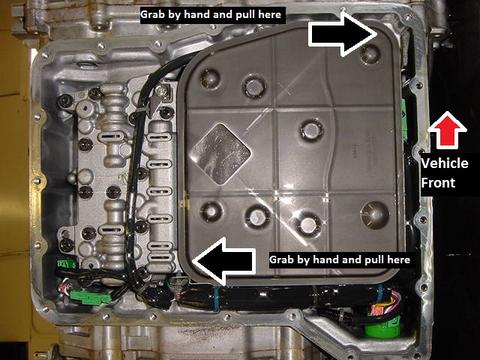
- Disconnect the green 16 pin connector (located on the clutch cover side corner of the assembly)

- Jam the connector (coming in from the front cover) down into the front cover assembly cavity. This is to prevent it from snagging on the housing when the front cover is removed (prevent damage)
- Install oil pan with a couple of bolts to protect internals
Front Cover:
- Remove trans from vehicle, but leave it on the subframe
- Remove the 20 bolts with a 12mm socket
- With a pry-bar, very carefully pry the case apart using the case areas designed for this
Removal:
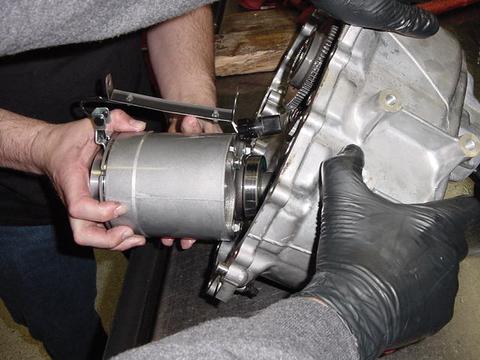
- Very carefully pull the assembly out of the trans straight and out
- Be careful with the 16 pin connector and do not damage it
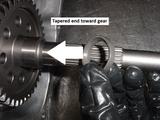
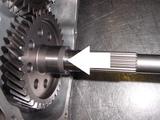
- TIP: Note the washer which is on the output shaft (the ETS shaft which is sticking out of the trans). The washer needs to be installed with the tapered end facing toward the gear. If there is no washer on the shaft, it is still sitting inside the ETS unit. Pull it out and put it on the shaft (3rd picture).
ETS Unit Removal:
- Use a 10MM socket to remove the 2 bolts from the electrical wire support bracket.
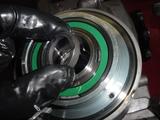
- Remove the retaining clip from the electrical connector.
- Use a 1 1/16" socket to remove the drive-shaft flange.
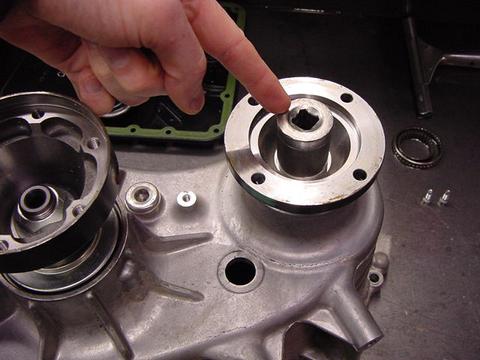
- Pull the flange out and then pull the ETS Unit out of the case.
You are now ready to ship the ETS to:
